Sometimes some special panels are hard to get or are very expensive. When I built my first simulator I tried to get
original panels, but after a while I gave up. Most of the stuff that I could find was for a F-16 A model, and I
was building a C model. Well, if you cannot get help, you have to help yourself ;)
I never worked with metal before, and therefore was afraid to start to build metal panels. The problem was to find
a material which looks like metal, but just wasn't. Wood is very difficult to use for this purpose, as it would require
a very high level of paint work and finish, in order to cover the structure of the wood. This would mean at least 4
to 5 paint covers, lots of sanding, lots of dirt, lots of time and lots of injuries!! :(
The required material had to be thin, easy to work with and be strong enough to hold the switches, buttons, potis, etc.,
and most important, it must LOOK GOOD !
Modern times are just super and I love to see all the new materials that are developed. They really have the needed
characteristics, but some of them like carbon-fiber, are too expensive.
One of my "providers" is a normal hard-ware store, where sometimes I just walk around and look if something I see
could fit. I never know what I am looking for, until I have seen it, so in a certain way it's a casualty when I find
something appropiate.
During one of my "scout-tours" I saw some acrylic material, which is used instead of glass in garages, shacks, etc.
This material can be found with the following measurements:
- Acryl -
- 1500 mm long
- 500 mm wide
- 1,5 mm thick
- 3,0 mm thickness (can also be found)
The price for this is around US$ 14,50, which means that the material you require for one panel would be aprox. between
US$ 0,12 and US$ 0,18. Now that is really cheap I guess !! ;)
Now further needed materials would be screws, black paint, transparent ennamel and a paint primer. I don't think it
is necessary to tell you the price of 2 screws or calculate how much primer and paint is needed for one panel.
Just let me tell you this: inside a paint spray-can is a lot of paint, so that you will be able to build
ALL
panels with 2 cans. Calculation at this time is up to you ;)
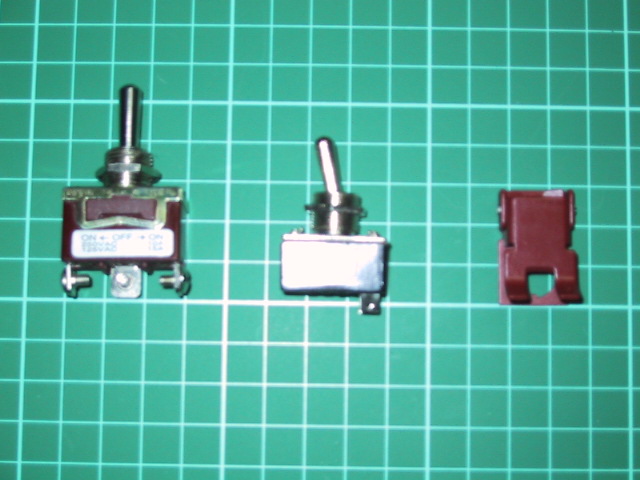
So far the basic materials. Now for example, to build the "Nuclear Consent Panel" (which I built to show you the way)
you need 1 two-way switch (US$ 2,05) and 1 three-way switch (US$ 1,76). - By the way, I never understood why a
3-way switch was chaeaper than a 2-way switch.- And...you need the safety-cover. This can be found in the WEB and I
payed about US$ 3,75 for it.
We have to find also a way for the markings of the panel, and a simple way to achieve this, is by using "rub-on letters"
which can be found at any paper-store. Price: US$ 3,00 per sheet. (One sheet will be enough for about 7 - 10 panels,
depending on the required labeling, of course.
|
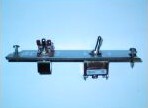
Required materials, tools & parts
|
Layout and Acryl
|
Detail "Nuclear Consent"
|
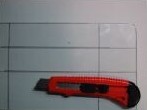
Used tools
|
Marker pen
|
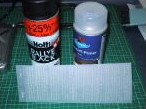
Paint & Rub-on sheet
|
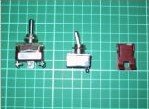
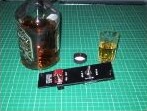
Switches & Safety-cover
|
|
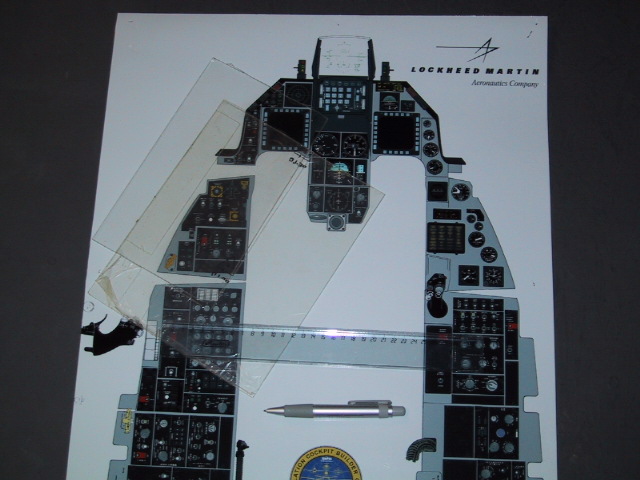
It is useful to have some pictures or other informations in order to make sure, that you are building a panel that looks
like the original. Due to lack of info. lots of "phantasy panels" have been installed in simulators. Some of them
look really great, but if you want to get close to the real thing, you have to build based on good data.
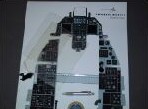
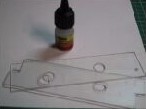
Sometimes just a good picture or a good layout can help a lot. The layout I used this time can be found at the HP of
Martin "Pegasus" (http://www.xflight.de). You can download one of several.....it´s reall worth it! ;)
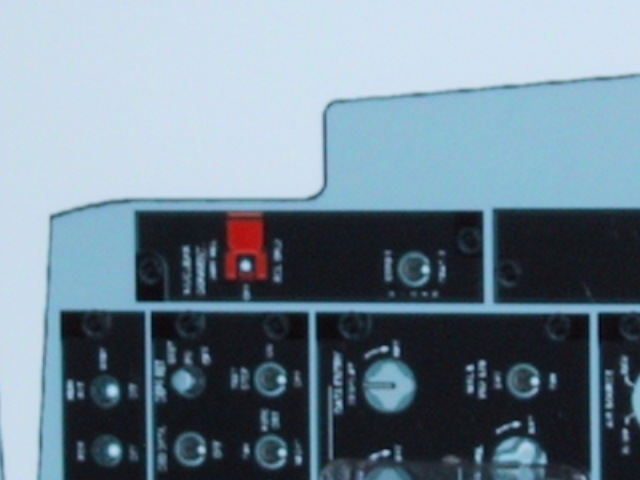
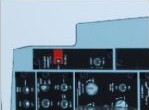
Sorry about the poor quality of the picture that shows the Nuclear Consent Panel as detail of the layout, but it gives
you an idea of how we want our panel to look like.
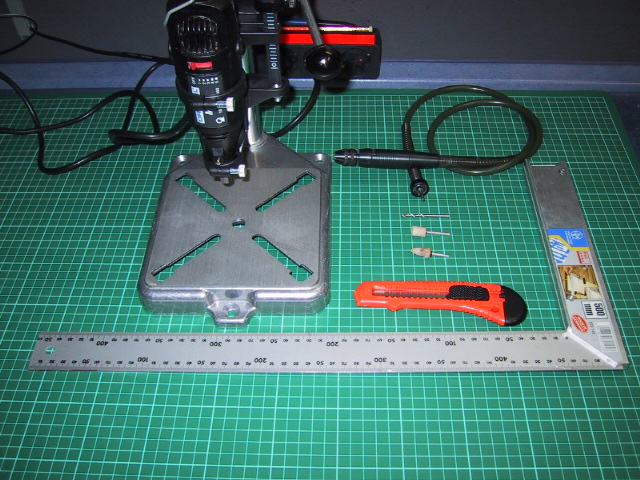
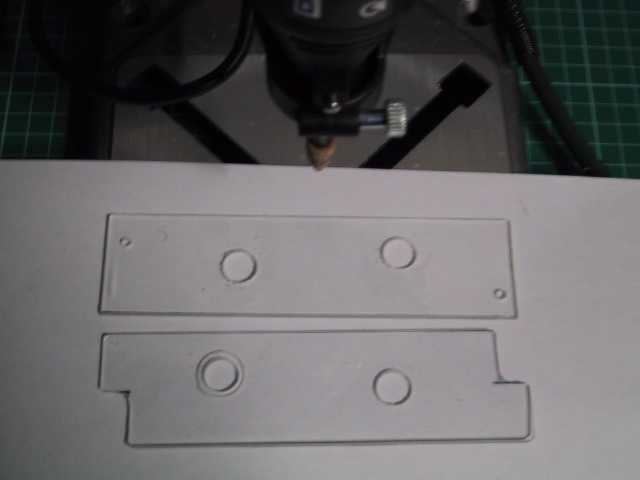
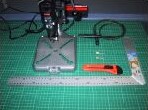
One of the tools I love to use, is the high speed "Dremel". If you are working with acryl, plexiglass, fiber-glass or
any other type of syntetic material, it is the best you can have. Using different drills, sanders and cutters this
machine helps a lot.
PLEASE.....NEVER FORGET TO USE PROTECTIVE GOGGLES WHEN WORKING WITH HIGH SPEED TOOLS !!!!
At my office I have 4 to 8 patients every day, that forgot to use goggles and have severe eye-injuries. I would not
like to have you as my patient for that safety error ok? ;)
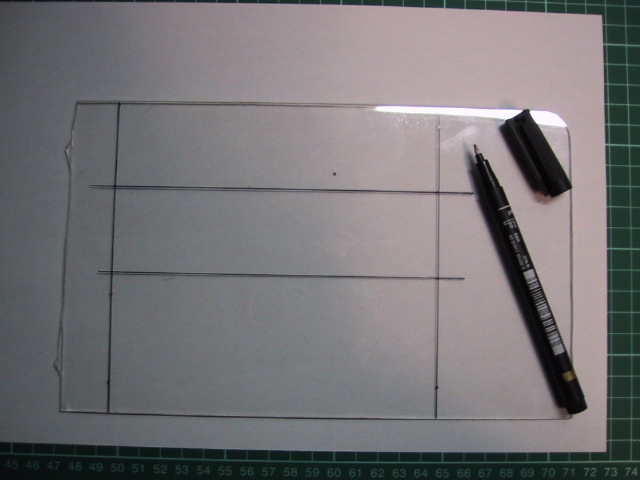
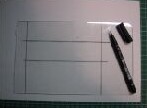
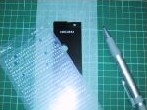
Well, after marking the acryl, allmost everything is done. I say that, as the accurate dimensions are the
most important part of our work. If you cut the acryl and you have an error in the measurements, all the rest will be
also wrong.
Just to show you, how a very small error will affect the final result, I have placed the drilling of the "Plain" switch
10mm farther to the middle. (It should be placed at 20 mm). So far no big difference can bee seen, but once we are ready
and you compare the panel with the layout, you´ll inmediatelly see, that something is wrong, even if the panel itself
looks good. Remember: it takes the same effort to do things right as to do them wrong. So let's do it right right away!
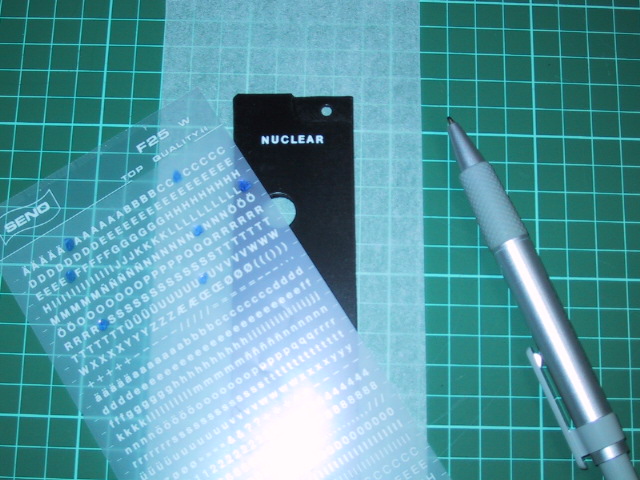
For the final touch we will need the paint (a spray-can will do) and the "rub-on letters". When you buy them, try to
look for the right size! Sometimes labeling with too large or too small letters can ruin all the good work you have
done so far.
Have the switches, buttons, lights and other parts (depending on which panel you are building) ready. Sometimes you
have to place them on top of the panel BEFORE drilling holes, as you want to avoid that a part of the device will not
be covered by the panel.
|
How to build a panel :)
|
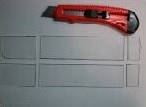
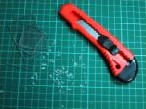
Cutting the panels
|
Panel x 2 (???)
|
Lower / Upper panel-layer
|
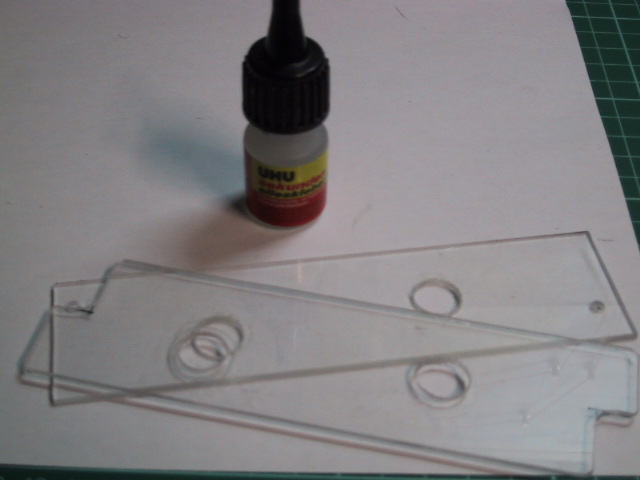
Cyano-Acrylate glue
|

Paint
|
Labeling
|
|
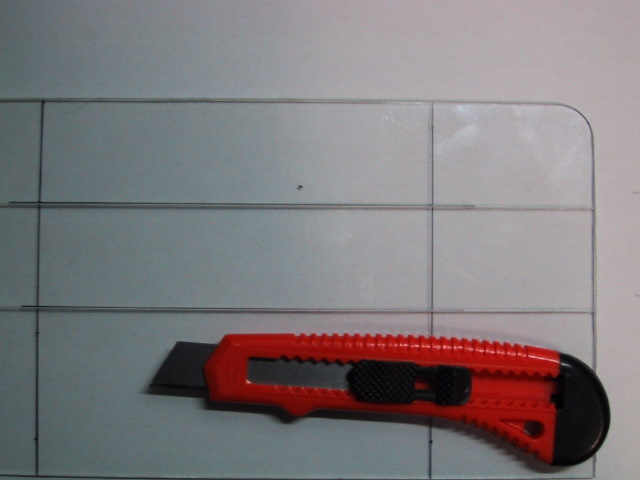
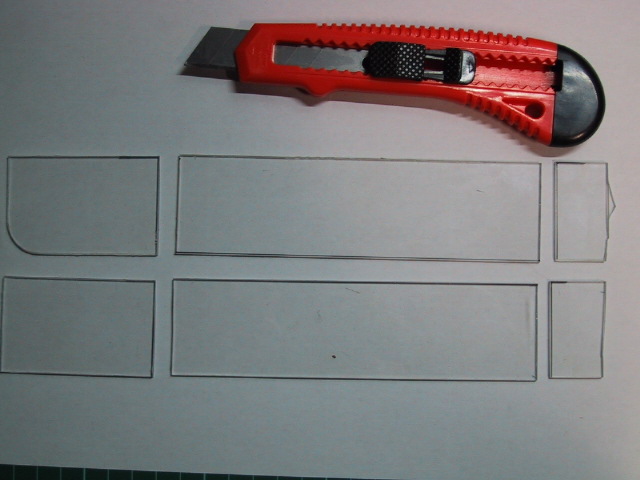
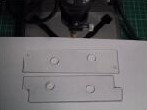
Using a sharp knife or a cutter, just scratch 3 or 4 times on the acryl. You do not have to cut it completely, as some
deep scratches will give a perfect "cut" when you bend the material and crack it. Just cut out two (2) panels of the
same size, as one is going to be the top-layer and the other the bottom-layer. Notice that the two panels are different,
as one has "two missing corners" and the other one has the drillings for the screws. Also note that the drillings are
not exactly in the middle-line of the panel, as one is going to have a safety-cover and the other will not.
Using some glue, (I like to use "Hot Stuff", "Crazy Glue" or similar fast glues) put one panel on top ot the other,
watching that the borders match; the holes should also match. After some seconds you are ready to get into the
"paint-section"
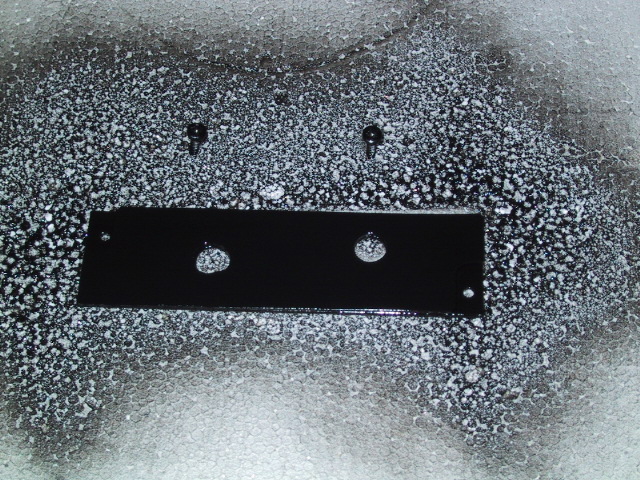
First you have to use a plastic or acryl-primer, to ensure that the paint will hold on the panel. After 3 minutes of
drying, the black paint can be used. Normally 2 layers of paint will do.
As I am a little impatient, I use a hair-dryer to dry out the paint faster. Don't get too close with the dryer to the
panel, as the paint might get bubbles. ;). At this time I also paint the 2 screws black.
Once the panel is dry (my panel took 3 minutes) you can start with the labels of the panel. All you need are the
"rub-on letters" and a roller pen. After labeling is finished, I spray transparent ennamel over the panel, to make
sure that the letters will not rub-off when the panel is in use.
|
Nuclear Consent Panel
|
Top -safety-cover closed
|

Top -safety-cover open
|
side-view
|

Upper / Lower Panel - Detail
|
That's all !
|
Congratulations! - your 1st. panel
|
|
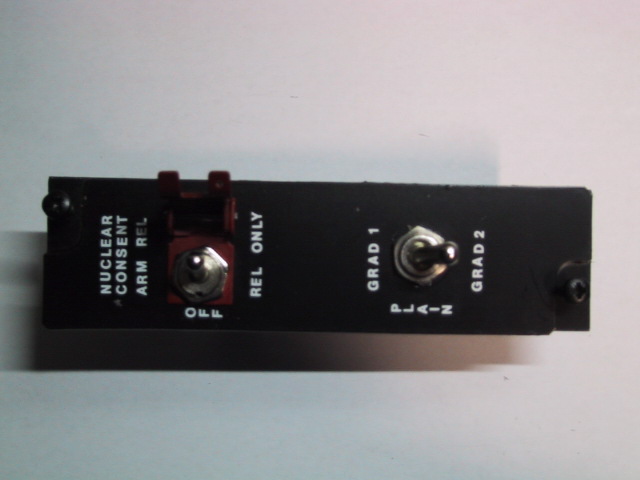
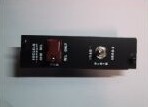
After installing the two switches and the safety-cover, you have it ready!!! I think it looks neat, regarding that
it took only about 23 minutes from the moment we started. Of course the original panels are much better, but also
much more expensive ;)
Later on you can allways replace the panels you have built with originals if you want to, but for the moment this
one is quite ok.
The detail pic shows why the upper and lower part of the panel were different. This small detail enhances your
panels a lot, and as you could see, it did not take too much time to do that. Another nice feature of building
panels this way, is that there is allmost no garbage, so that you can build them right in your living-room and
be sure, that your wife or girl-friend will not complain about dust and garbage. The pic. shows that we just had
a small amount of scratch and waste. That's all!
Well my friends, CONGRATULATIONS ! you deserve an award, as you have built your first F-16 panel.!!!
Now for the records:
We spent about US$
0,24.............Acryl
0,06.............Paint
0,03.............Primer
0,03.............Ennamel
0,30.............Labels
0,10.............Screws
2,05.............2-Way Switch
1,76.............3-Way Switch
3,75.............Safety cover
0,01.............Crazy Glue
_______________________
8,33.............TOTAL
Of course our panel has the small error (10 mm displacement of the "Plain" switch, remember?), is not back-lit and
has not the same switches as the original, but for a home-built sim. with medium fidelity it will work.
These are the panels I used in my Sim.Ver.2.0 and I must admit, I was very proud of it. Now my new aim-point has
changed and on the Sim.Ver.3.0 a
perfect copy of the panels will be used.
Sooner or later that is what we all want: a perfect simulator of OUR F-16.
I hope I could help you with your project, by showing you a simple way of making some parts just by yourselves. :)
Note:
To zoom please select the picture with your mouse.