Not only panels can be built using Acryl. As before, the panels, consoles, plates, shields, etc. have to be strong
enough to host buttons, rotaries, switches, rockers, etc. AND look like metal.
One question that I heared lots of times, is "How can I build the Glare-shield and the panels below it?"
Answer: It is realy simple! ;) - just use Acryl, paint and a "heat-gun" and there you go!
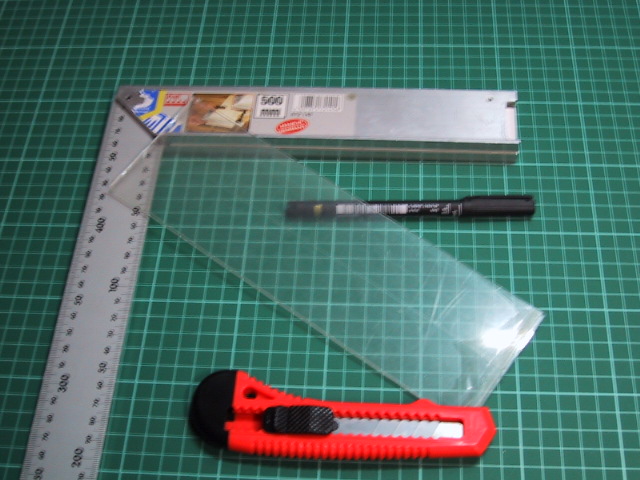
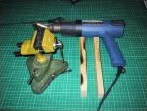
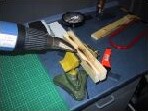
The materials you need are just the same mentioned in "Acryl Panels I" plus some short pieces of wood and a tool
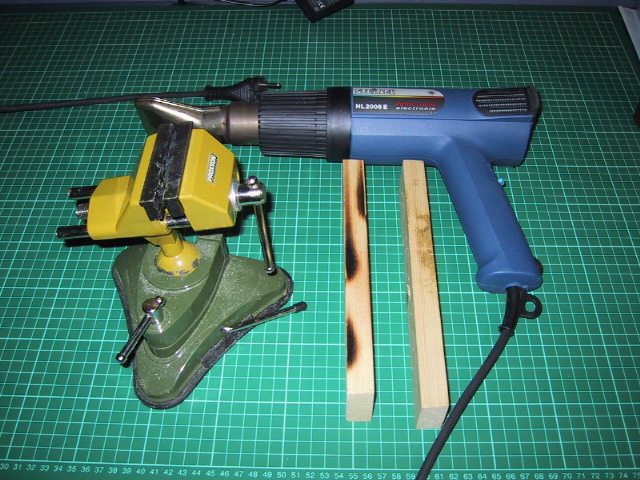
called "Heat-Gun" (Don't worry, it is just like a hair-dryer, but gives far more heat, so BE CAREFULL !)
|
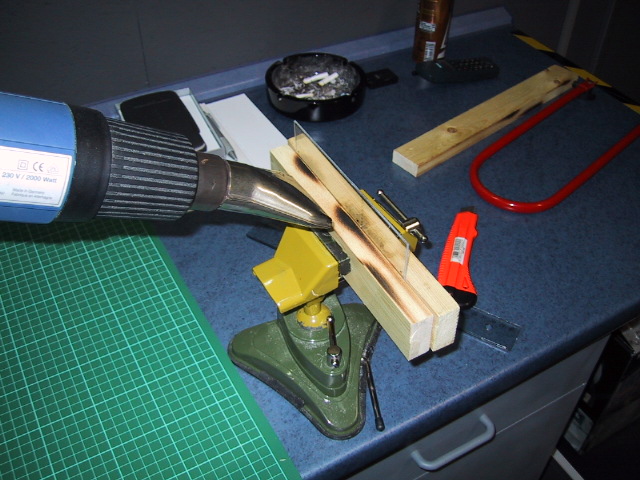
Required materials, tools & bending
|
That is what we want to build
|
Metrials & tools
|
First step
|
"Heat-Gun" & wood
|
First "bending"
|
90° Angle
|
|
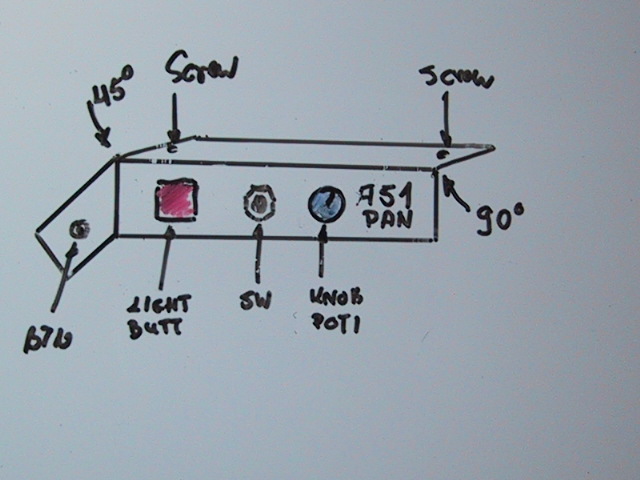
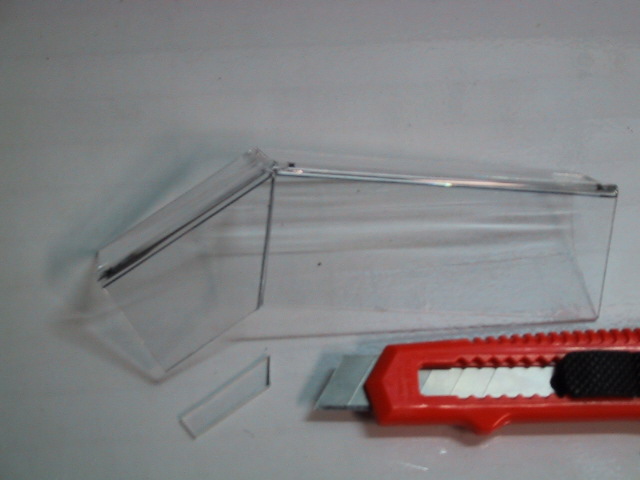
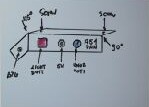
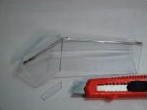
Of course BEFORE starting we have to know what we want to buid. I just made a ketch of a "Phantasy panel", but of
course real panels and parts are built the same way. A good drawing and information is allways a MUST.
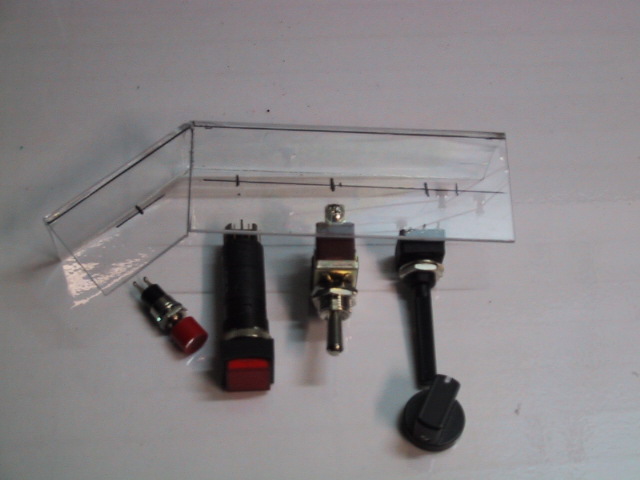
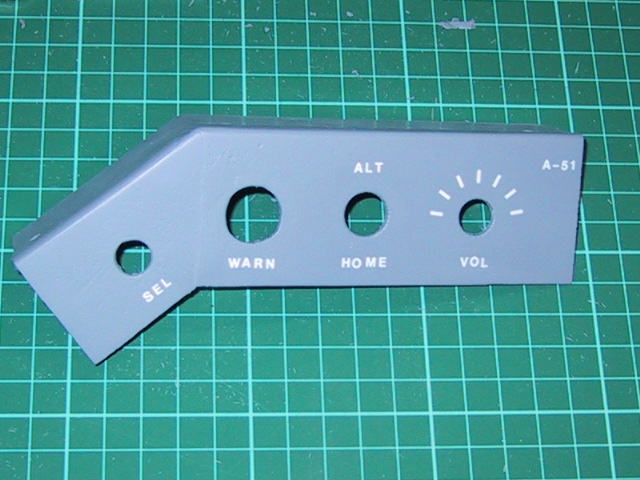
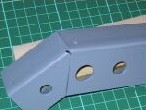
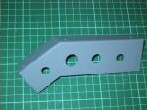
Notice, that the panel (A-51 panel) (That's for "Area 51, my sim room) has a 90° bending at the top and a second
bending of 45° at the left. Also 4 drillings for one Reset-button, one Push-button with warning-light, one 3-Way switch
and one Potentiometer. 3 further drillings will be made at the top to host 3 screws, which will attach the
panel to another surface.
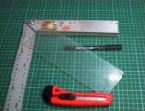
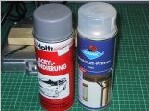
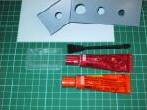
I think there is no further comment about the materials and tools, as they are just the same as mentioned in
Acryl Panels I
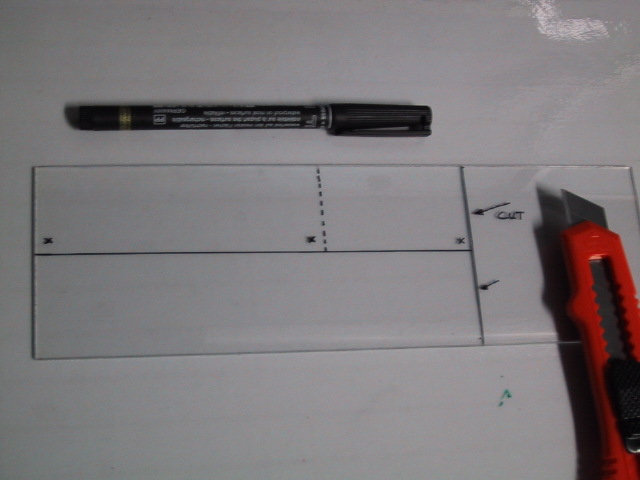
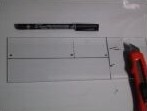
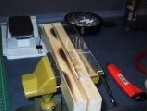
The first step is as usual to mark the Acryl with a marker, so that you can know where to cut, drill or bend.
To bend Acrylic is quite simple, provided you have the right tool. Using too little heat will let the matrerial crack
while bending. Too MUCH heat however can lead to bubbles in the Acryl, as well as a deformation of the surfaces.
Therfore I use 3/4 of the max heat that the Heat-Gund can deliver and by using a narrow nozzle, the heat is placed on
the right spot.
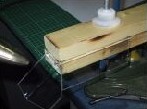
The wood will be used to fix the Acryl while heating and bending, assuring a clean and regular edge. On the wood you
can see how much heat is developed by the Gun. So please be carefull, as blisters are also a common phenomena that
appears during heating and bending. Please
NOTE: I am talking about
YOUR HANDS! ;)
Place the marked Acryl between two pieces of wood, making sure, that the markings of the desired bending matches with
the border ow the wood. Now apply heat with the Heat-Gun, being careful not to get too close to the material. Using
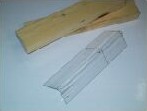
another piece of wood you can bend the heated part to any desired angle. In this case we want to achieve 90°
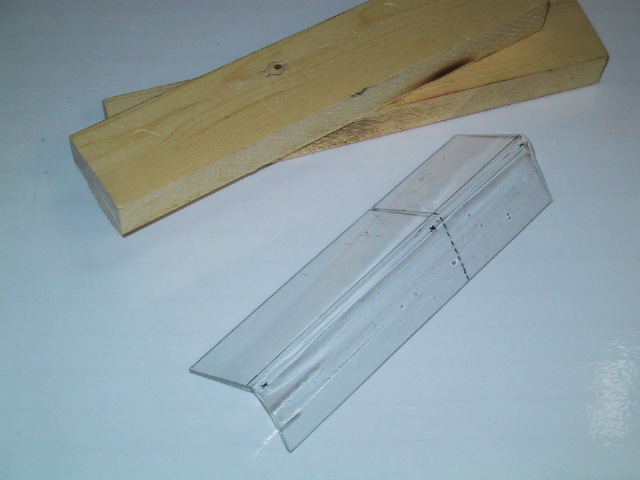
After 30 seconds of cooling-down, the part can be handled as desired, as the plastic is rigid again by now.
A common problem can be seen now. Due to the heat, one flat side of the panel has got some deformation. Dont worry!!
Just heat up that area again and using a flat object (wood, etc.) apply pressure on the hot material. At least 90%
of the deformations can be corrected this way. ;)
Our first bending is finished, so that we can proceed to the second one.
|
Second bending
|
Heat deformation
|
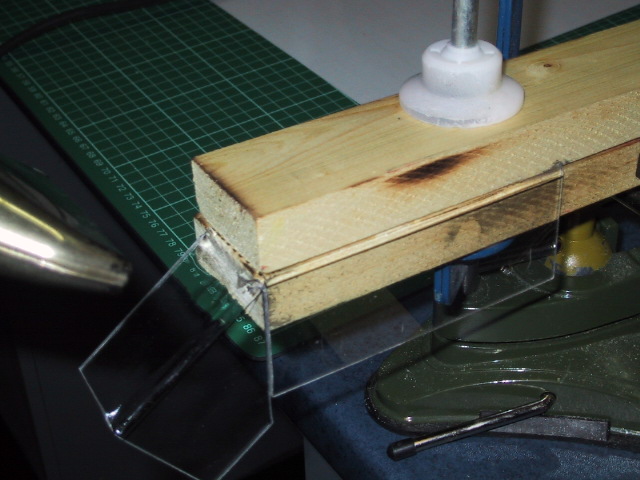
45° bending - step 1
|
45° bending - step 2
|
45° bending - step 3
|
Markings for drilling
|
Allmost ready
|
|
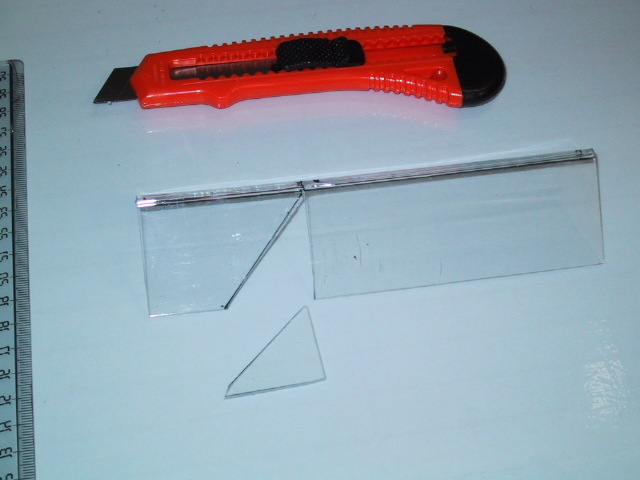
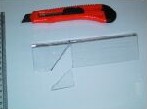
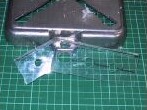
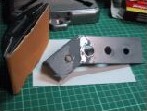
Once the deformation has been corrected, you have to cut out a 45° angle piece, to allow the next bending of 45°
After doing this, proceed the same way as before and bend the left part to the desired angle. Now cut off the
overlapping piece of the bended part, to assure one continuous line. We are ready for the next step: drilling
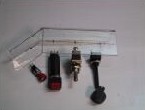
Make sure that you have enough space between ond device you're installing and the other. Once you have drilled a hole,
there is no way of correction, so better take your time marking the right places.
Ok, this time it worked quite well, and now some paintjob and labeling will be the next stages
|
Finish
|
Primer & Paint
|
OUPPS !
|
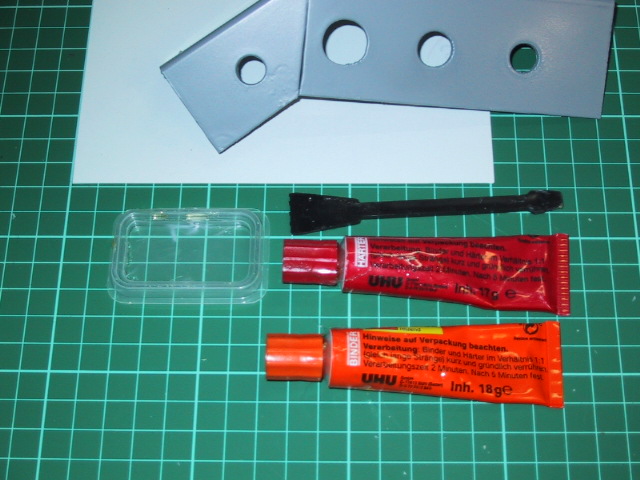
5 Minutes Epoxy Glue
|
Ready for some sandpaper
|
Second painting
|
Labels
|
|
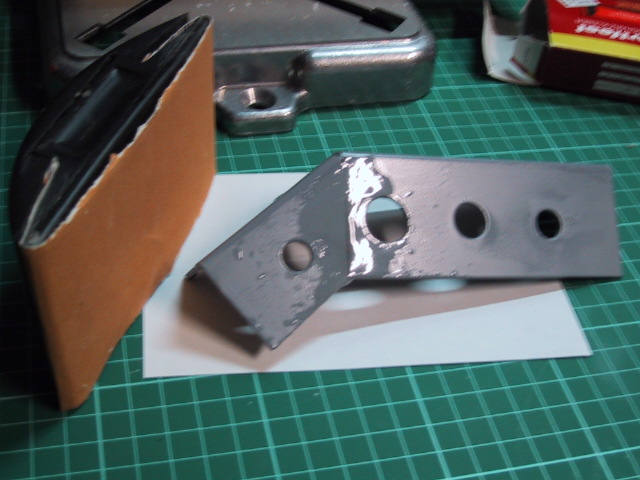
This time we are using gray paint instead of black (just for some change) and the same primer we have used before.
It happens even in the best families ;) As you see, there was a crack and it might look like all the work is going
down the drain! Relax, we are going to need about 5 more minutes than expected to fix that.
I love to use 5 Minute Epoxy Glue, as it hardens quite rapidly and allows to continue with the work. Just fill the open
spaces with the glue, take some 5 minutes off, get a cup of coffee, have a drink or smoke a cigarette (sorry US
friends, I am a smoker). Let's get back to the project.
Using fine sand-paper even the surfaces and apply the primer and the paint again. I allmost fogot to mention, that
before you have to remove the previous applied paint using thinner or something similar.
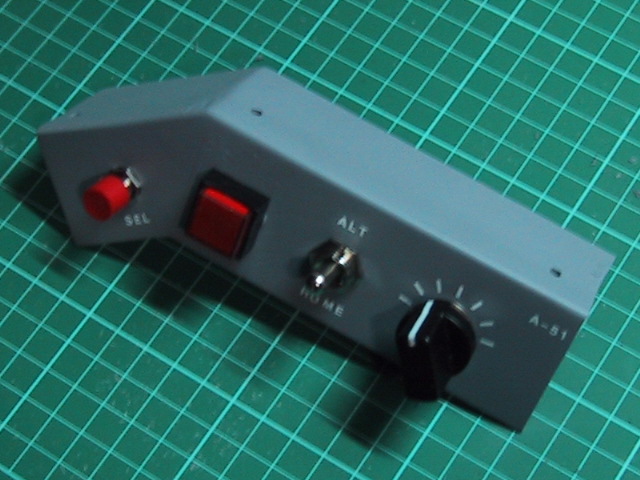
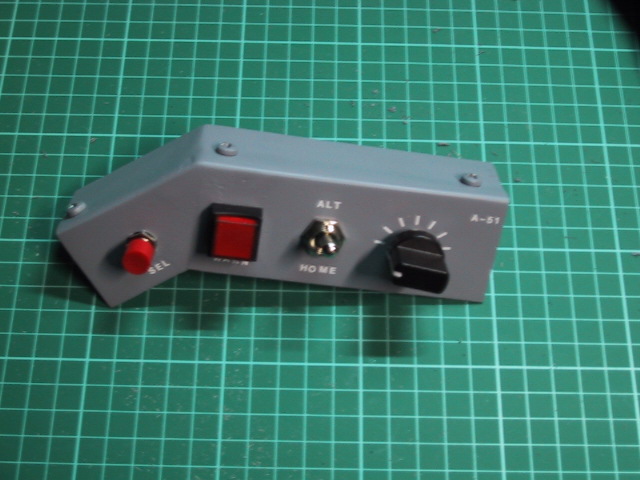
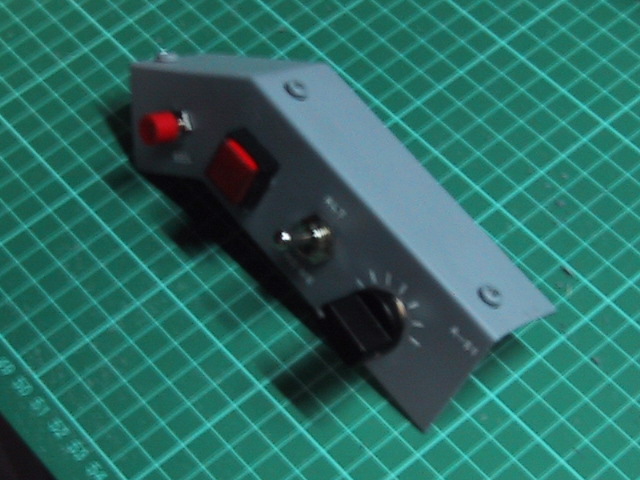
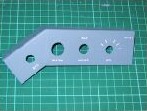
After the second paint-session, the result is neat (well that's my opinion) ;) Now apply the rub-on labels as described
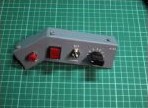
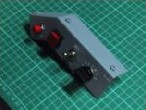
before and you are ready to install switches, lamps or whatever you want.
|
A-51 Panel
|

A-51 Panel 1/3
|
A-51 Panel 2/3
|
A-51 Panel 3/3
|
|
As you can see, even panels that have angles can be built at low price and in a short time. This time we needed
about 47 minutes form the beginning to the end, even though we had to make some corrections.
This way allmost every panel can be duplicated, provided that you have enough information before you start.
This type of "console" can be found in allmost every aicraft, comercial or military, and that is why I think this
method might help all of you, either you are building a civilian airplane or a "War-Bird".
Note:
To zoom please select the picture with your mouse.